Whenever I want to post something cute on #Instagram, #Twitter, or #Facebook, I head on over to Canva to whip up some cute social media pics. This post is all about how to use Canva to create great social media images (and videos now too!–2022 update) for free!
Although I am not too shabby with Adobe Photoshop & Illustrator, I find Canva comparably low on features and fast on quick styling.
So let’s get you cranking out awesome images to share all over the web!
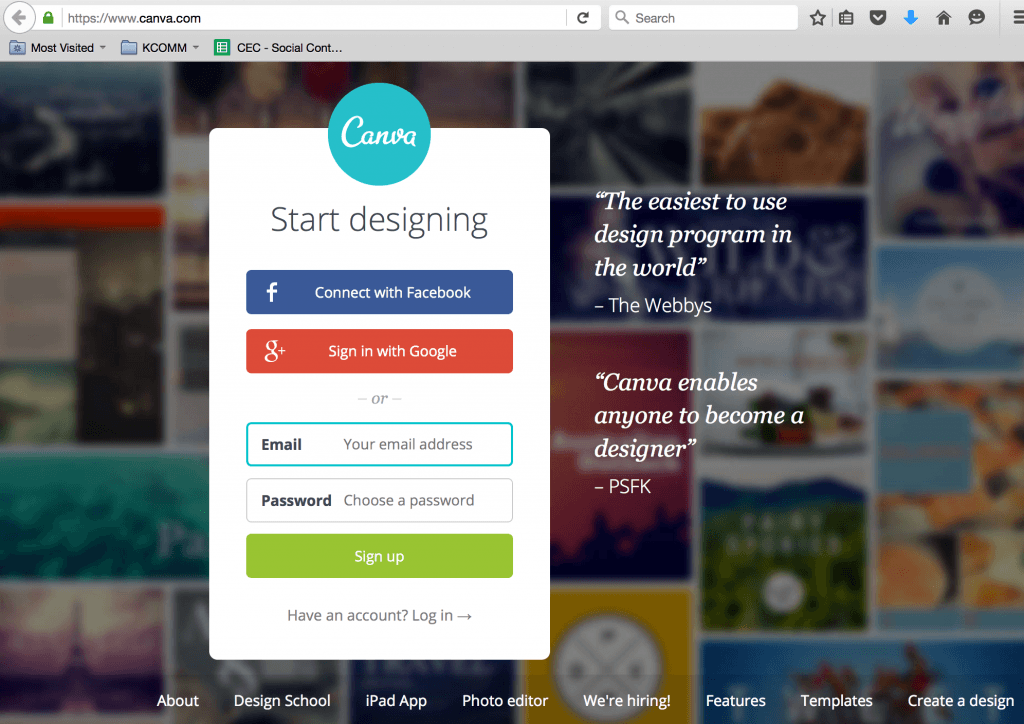
Step 1: Go to Canva & sign up (free)
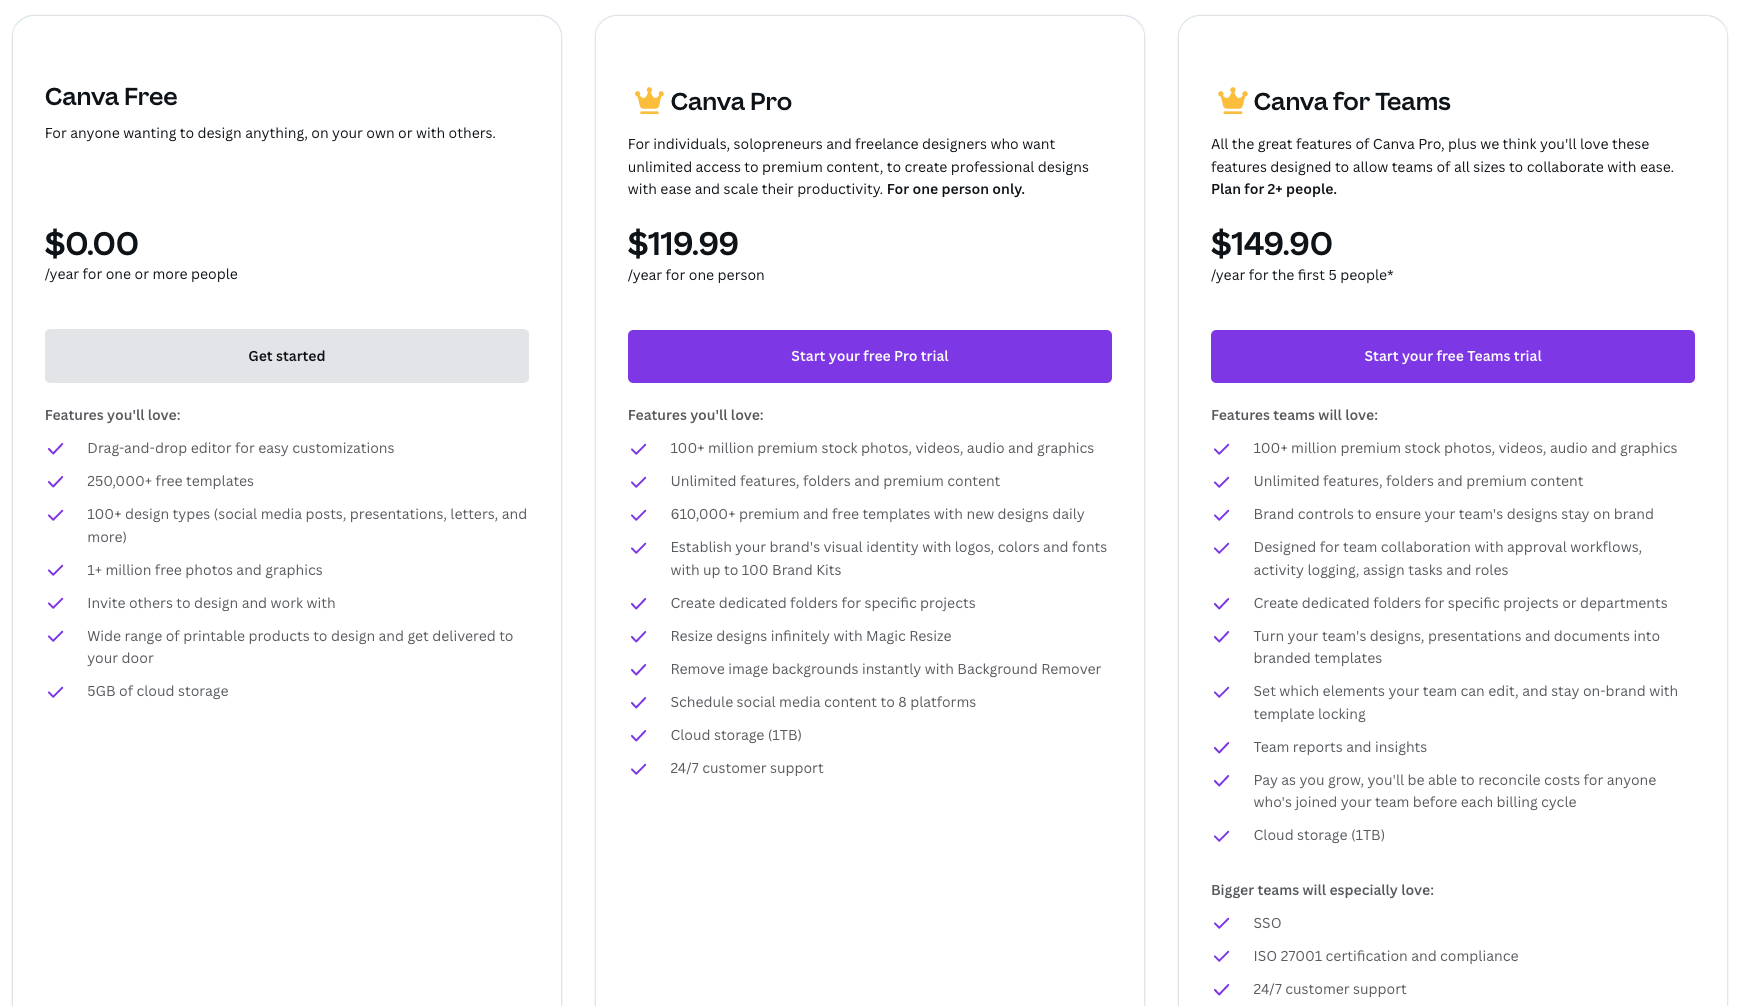
They have a great free level called “Canva Free” AND a free trial for the paid levels “Canva Pro” or “Canva for Teams” that do come with a lot more features.
To sign up, you need to connect with your Facebook or Google account or an email. I use Facebook.
Sign-up takes as long as it takes you to remember your password.
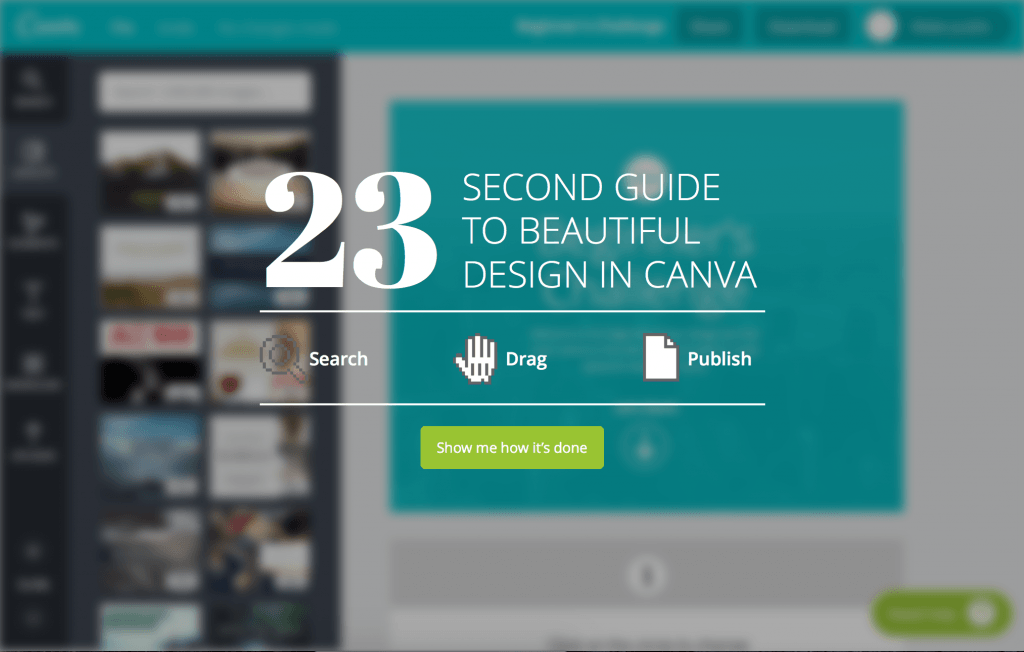
Step 2: Take a 23-second “How to Use Canva” tour!
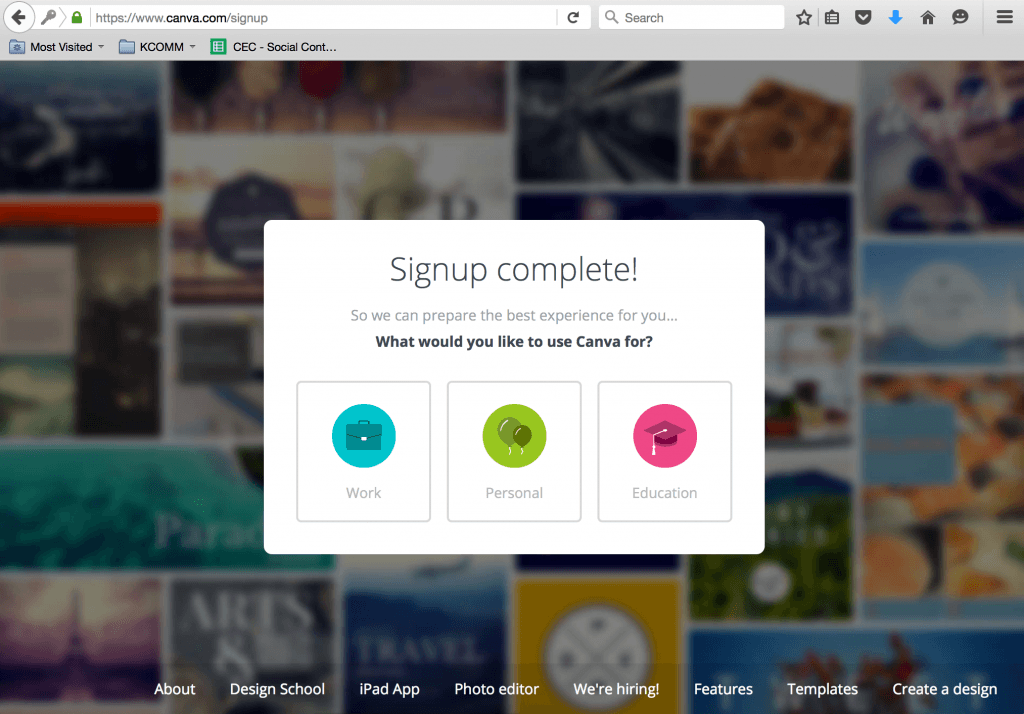
Once inside Canva, it asks you what you want to use it for. I think that’s just market research mostly, so answer whatever seems most accurate.
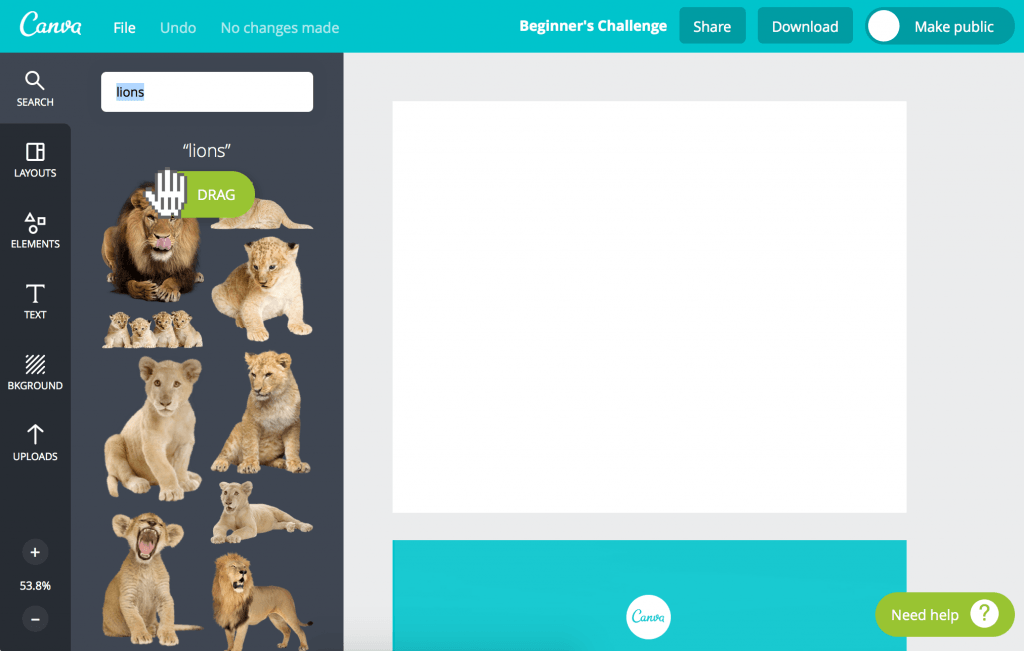
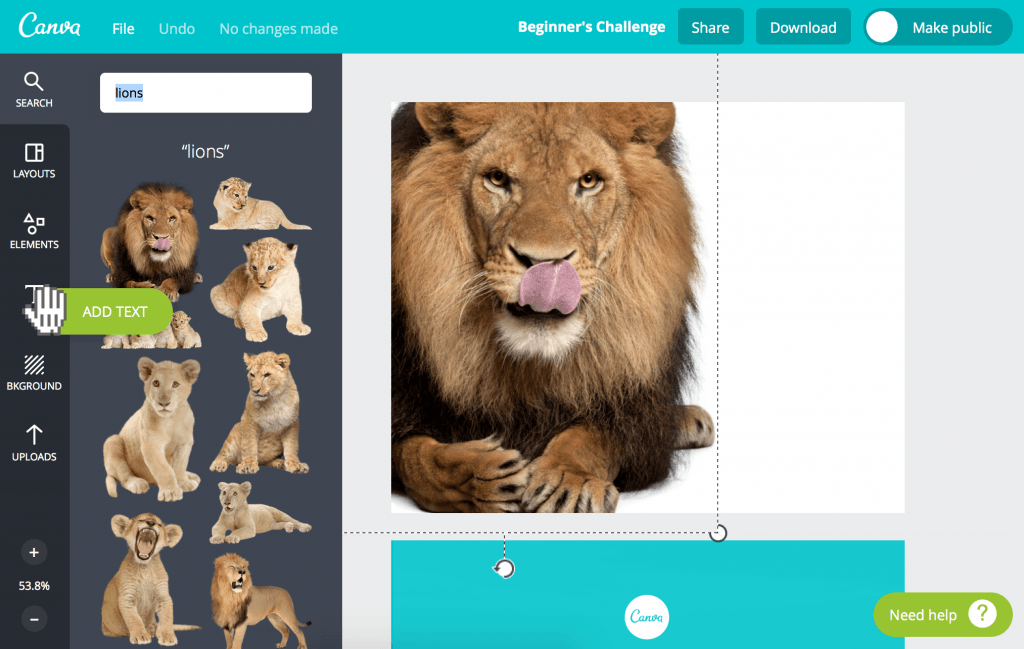
Then it runs through a short second demo of how to create an image with text and download it to your computer. Yep! That’s how fast Canva is.
Step 3: Now it’s your turn!
Now it’s your turn to create something! But no fear…if you want a bit more practice and time to get used to the tools on hand, there are other items for you to test out in the multi-item tutorial.
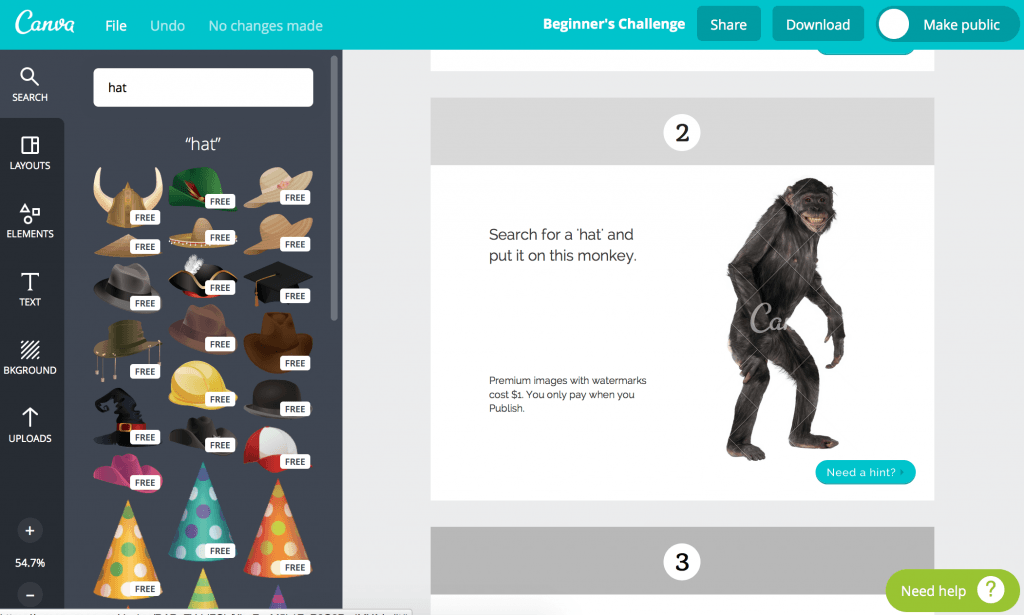
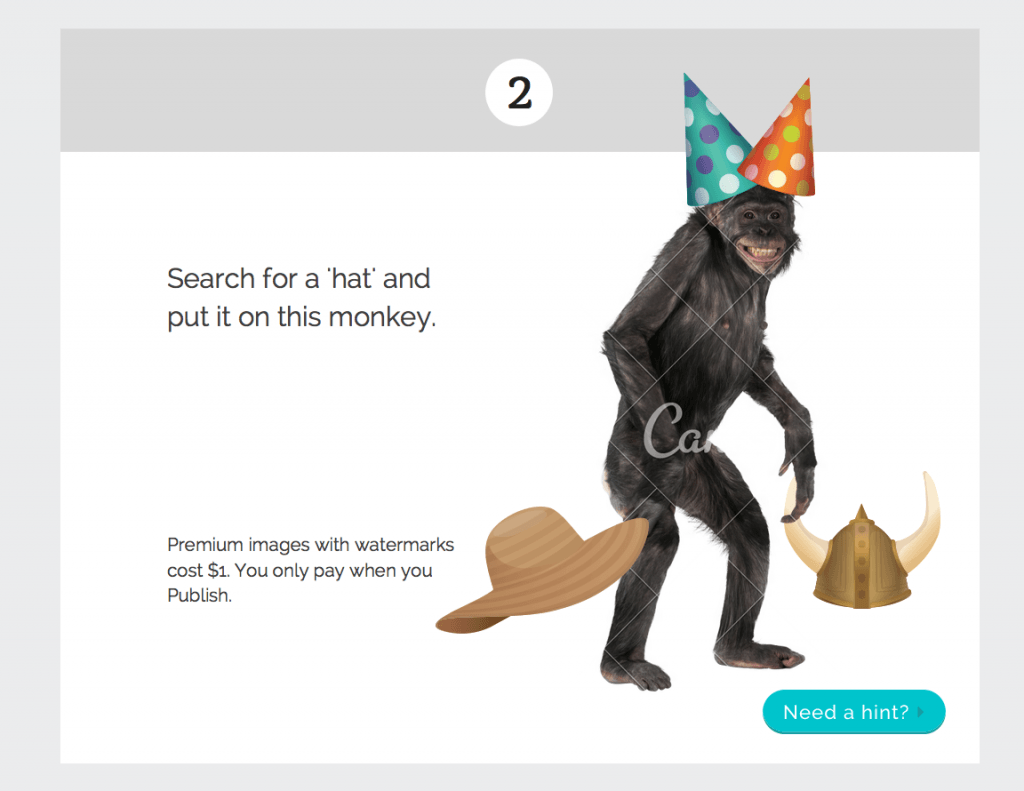
For instance, it prompts you to put a hat on this monkey.
Why pick just one!? 😉
Do notice how the Canva watermark is on the monkey? That means it is a ‘premium’ image and you have to pay $1 to use it–or have a Canva Pro account.
But no stress…just search and find a different monkey for free if you don’t want to pay, or you can upload your own images for tweaking!
This is also where pairing this tool with free CC0 stockphoto websites (like Pixabay, PicJumbo, and Pexels can come in handy!
Step 4: Okay, now it’s really your time to shine inside Canva!
Get in there and create something for social sharing!
I personally like the square layout. Here are a few things I have whipped up over the past few weeks.
Conclusion
Don’t let expensive platforms tell you that you have to buy them in order to make amazing pics for social sharing (I’m lookin’ at you Adobe Photoshop). Not so! (Although, to be honest, I do have Photoshop too).
And a bonus tip for using Canva:
- Create images in batches.
- Save them in a Google Drive Folder with the dates associated with their publishing.
- Trickle them out on social on the day(s) you plan.
Working in batches and in advance will ensure you meet your posting goals.
Happy creating!
Laura
PS: Want to learn how I create my most-engaged posts of all time? — it’s a book marketing hack!


