By now you may know that I love pictures.
I’m obsessed with free stockphoto websites (CC0 license to be exact! – free, no attribution required, can use for business or personal, can modify!).
I’m an amateur photographer. 😉 I suppose this was predestined after taking hundreds of photos of my cats as a child. Back in the 80’s and 90’s you had to actually wait a few weeks to see what you snapped. Most were blurry.
And we’ve already talked in this blog about Canva.com, of which I am a huge fan.
Today’s topic:
How-to Start Using PicMonkey
PicMonkey is quite similar to Canva in its basic purpose: easy photo editing, often for social sharing.
But it has a number of different features and tools, so adding it to your arsenal is a smart move.
Let’s get going!
Step 1: Go to www.PicMonkey.com

You’ll notice in the upper right hand corner it says:
- Free Trial: That doesn’t mean you have to pay to use it after the trial. It’s just a ‘free trial’ of their non-free version. It has no ads and a number of extra features.
But if you can ignore the annoying adds and not stress about some features being locked, you can still get a lot out of this free version! - Log in: That’s if you make an account. Which you don’t need to!
Step 2: Hover over the four icons in the top middle header
You’ll notice four grey icons toward the top. If you hover over each it shows you a preview of what you can do. Just click what you want and instantly get started!
Here’s a preview of each:
- Edit
You can upload your own photos from your computer, facebook, onedrive, or dropbox. Or you can play with some of their photos (they have a watermark though).

- Touch Up
You can upload your own photos from your computer, facebook, onedrive, or dropbox. Or you can play with some of their photos (they have a watermark though).
Cool features include teeth whitening, wrinkle remover, and airbrushing!

- Design
Here you can choose the size of the photo you want to design and then pick elements after. My favorite for social media is square because that’s all Instagram used to accept and I got attached. 🙂

- Collage
You can upload your own photos from your computer, facebook, onedrive, or dropbox. Or you can play with some of their photos (they have a watermark though).

Step 3: Start playing with the features inside!
Once you make a selection of your own photo or one of theirs, it’s time to start testing out what you can do!
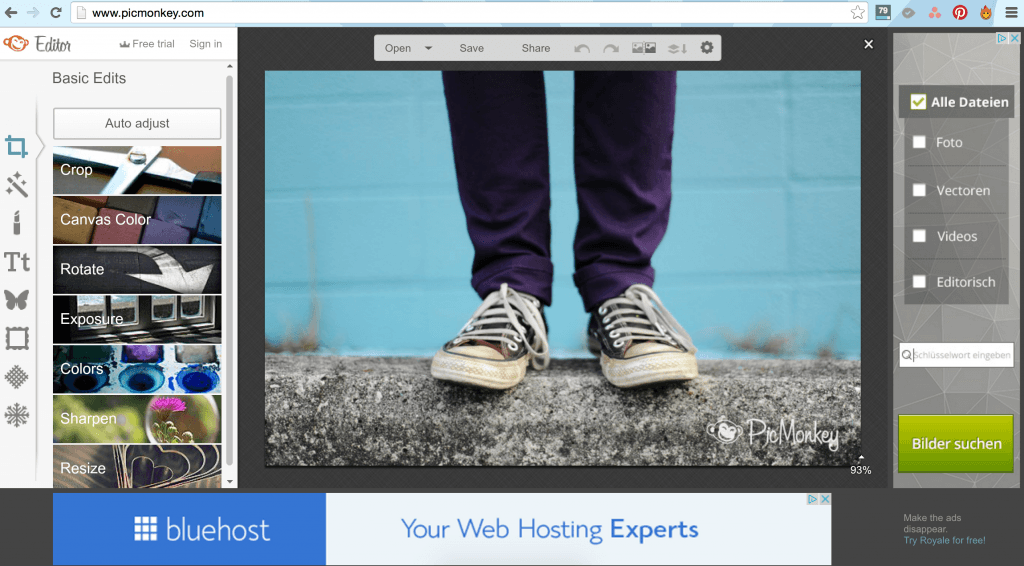
In my example I picked one of their photos (see the watermark in the bottom right hand corner?). And see the annoying ads on the right hand side and bottom? That’s what you get with the free version. #ignoring

Anyhow, look to the left on the Editor bar all the way to the left. There’s tons!
- Crop
- Canvas Color
- Rotate
- Exposure
- Colors
- Sharpen
- Resize
I ended up using something from all the categories (except canvas color because it would have just painted a solid color on top).
Notice too that there are little icons even further to the left of those I listed. Those open up tons of options too!
Here below is a series of steps with tools that I used to take the original photo from start to finish! And note: I’m no pro here, I just goofed with the tools and saw what came of it!
Pro tip: You can crop off the watermark!
Click through the slideshow to see the full process step-by-step (you may need to click to the “BEFORE: just starting” frame to see from the beginning)
-
- BEFORE: just starting
-
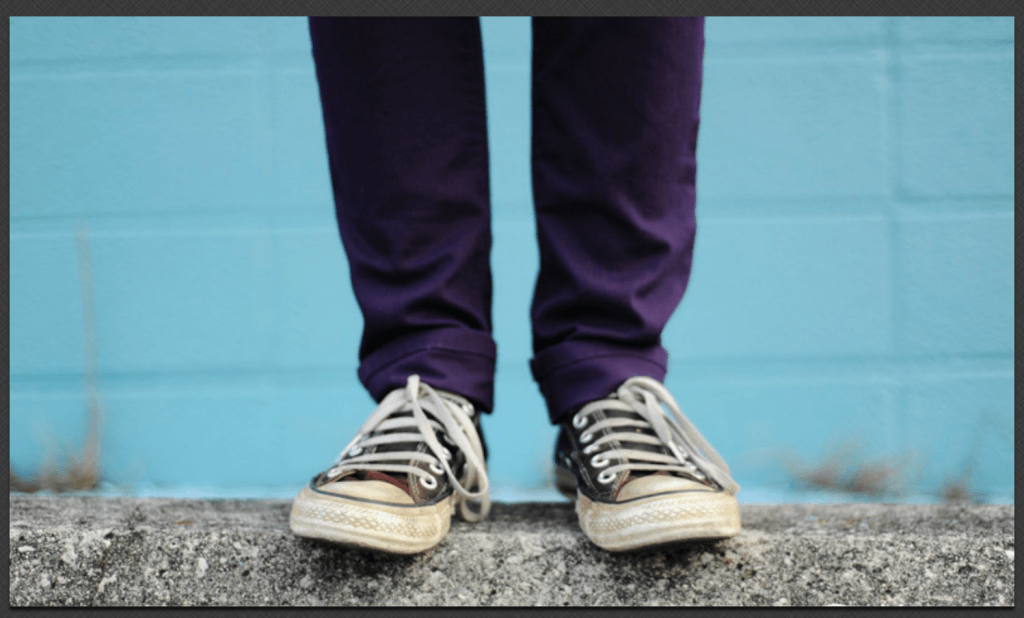
- Crop off the watermark
-

- Rotate? No, prefer not.
-
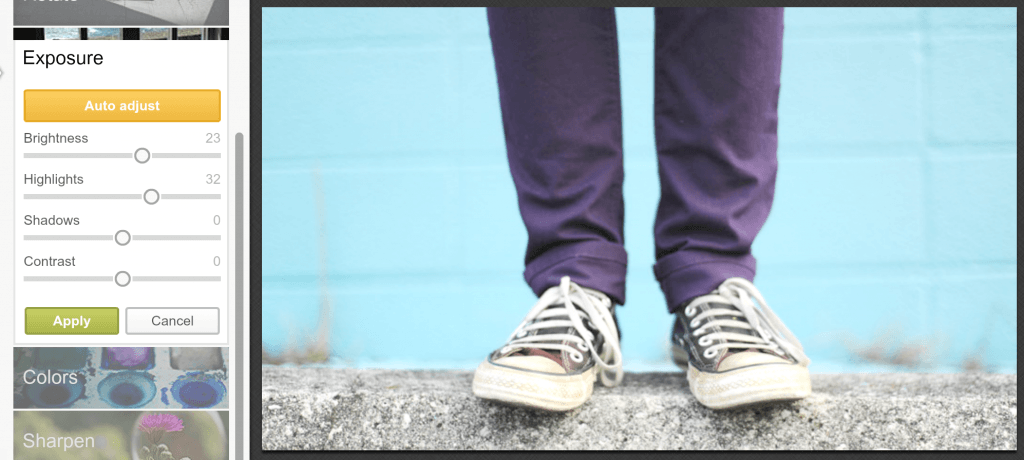
- Exposure.
-

- Color adjust.
-
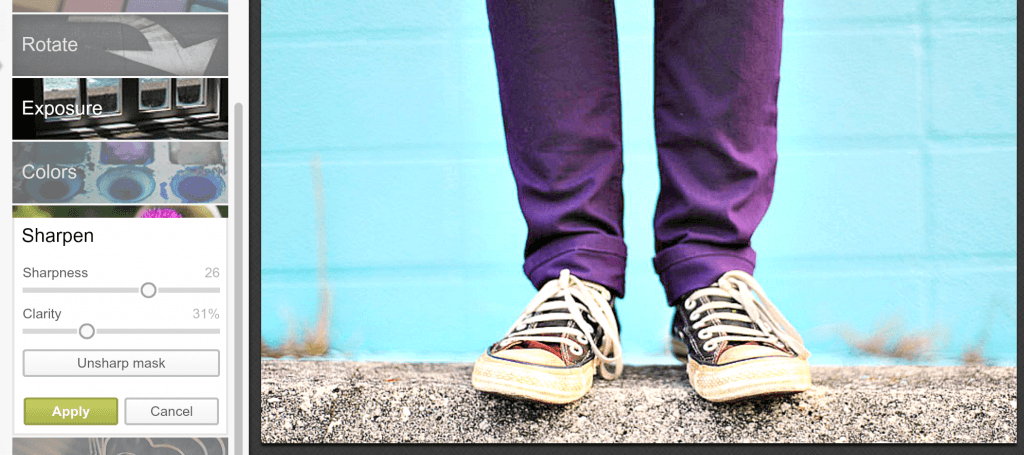
- Sharpen!
-
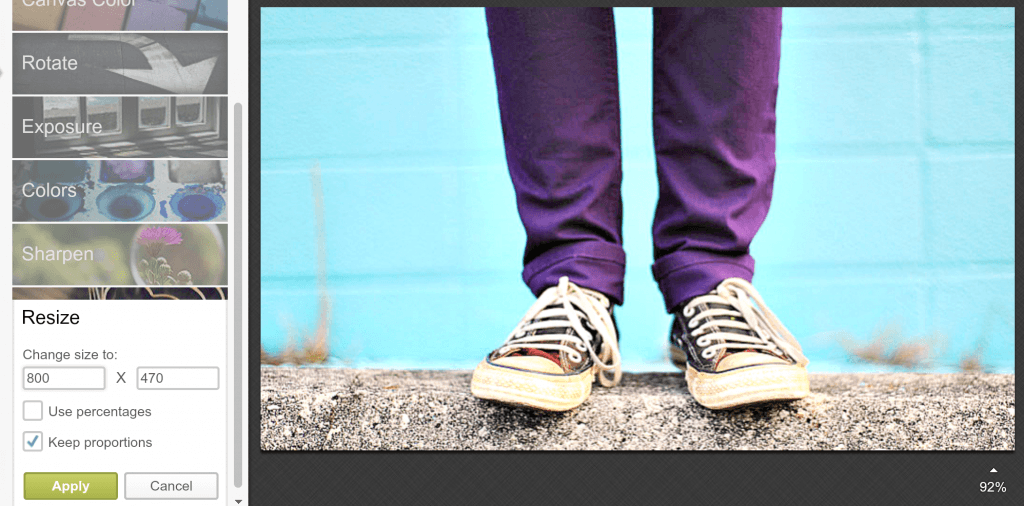
- Resize slightly.
-
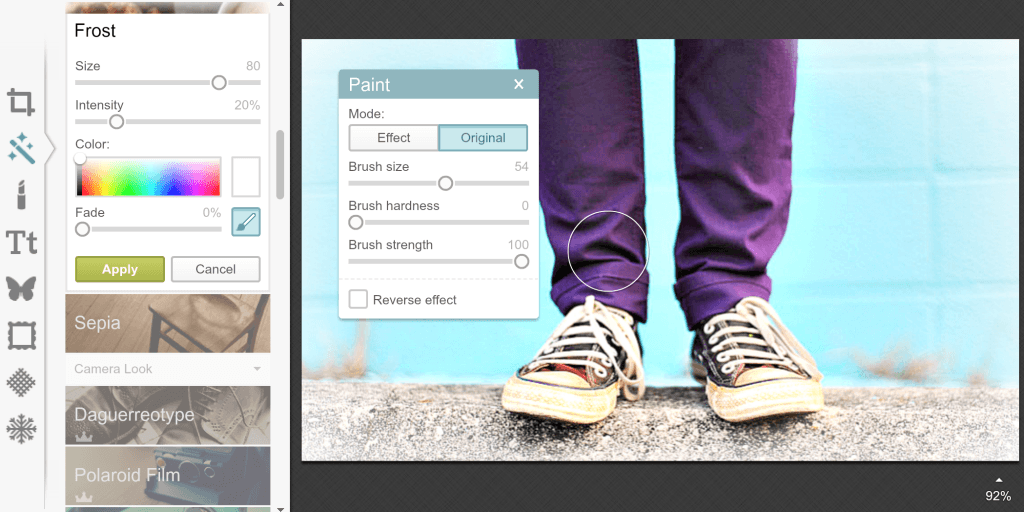
- Paint frost all around.
-
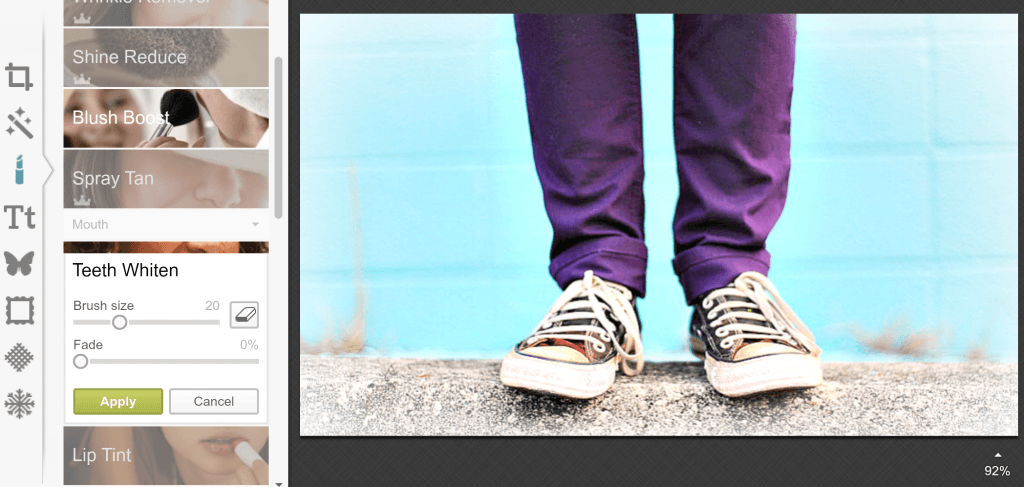
- Teeth whitening to clean up the shoes!
-

- Add text!
-
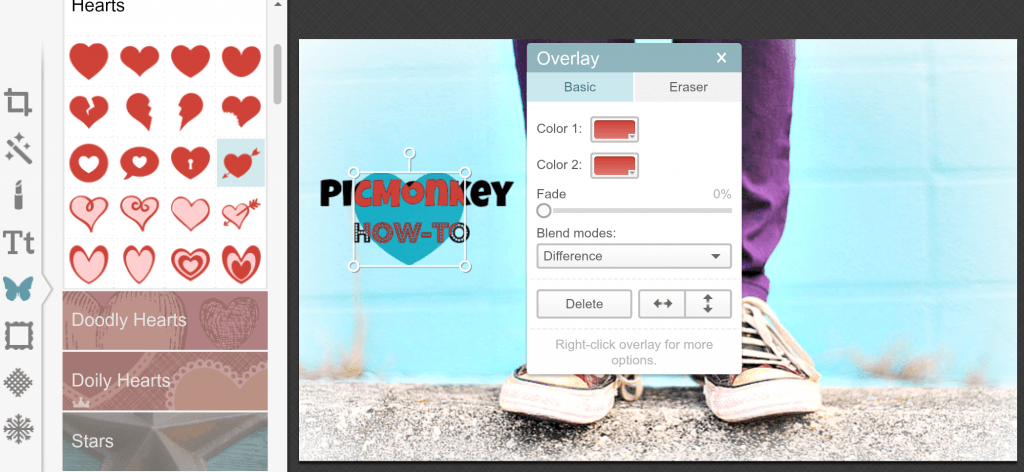
- Add a shape and pick how it affects what’s around it.
-
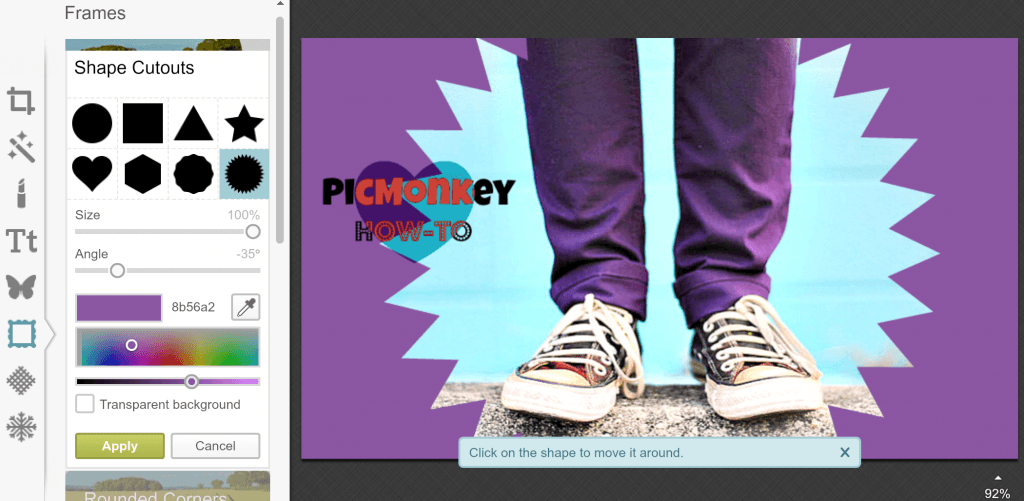
- Love the starburst cut out but I can’t get the text included.
-
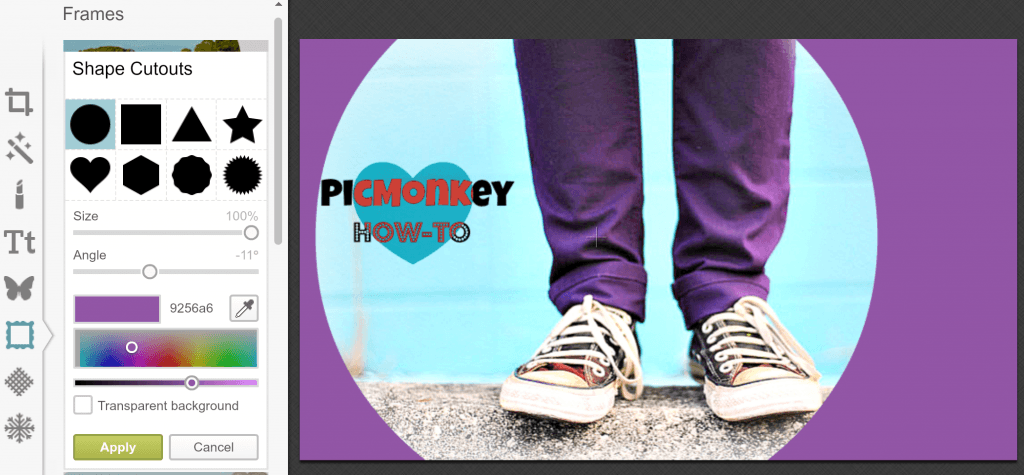
- Going with a circle instead.
-
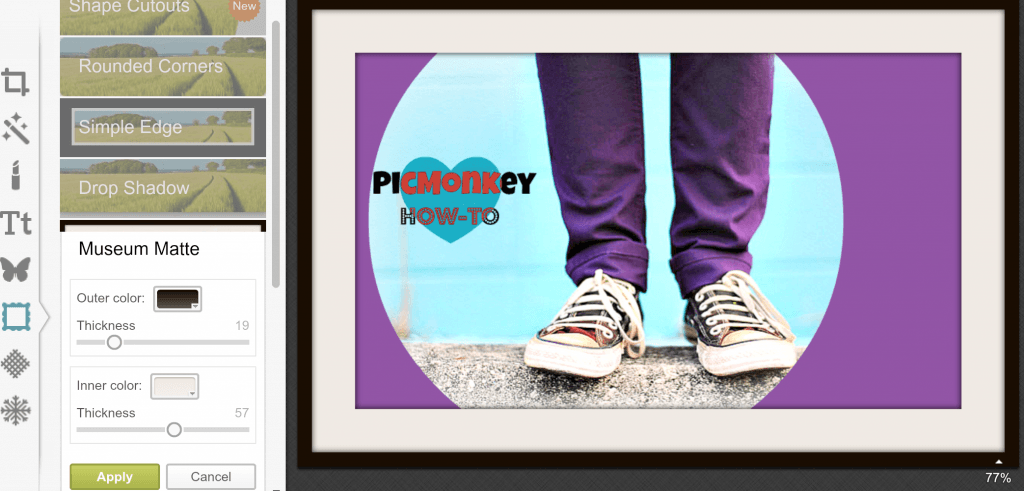
- Frame around the edge!
-
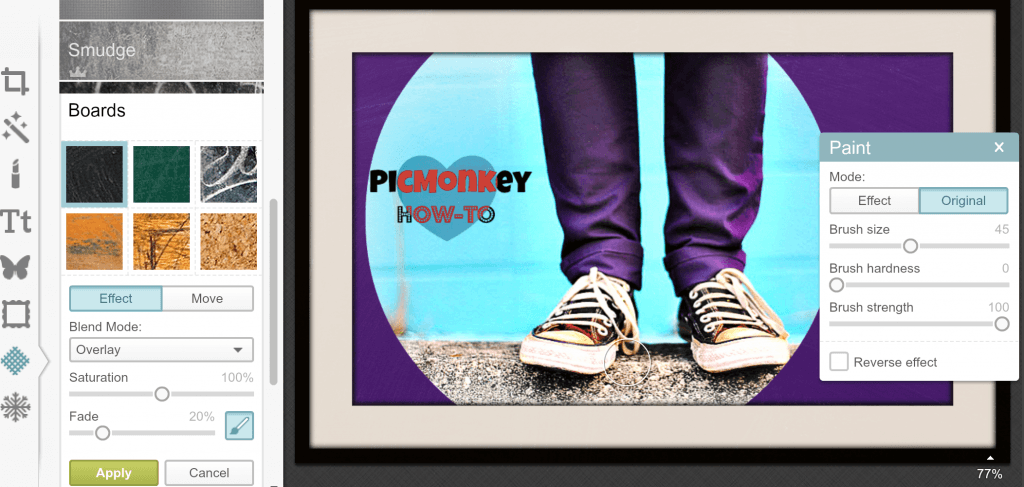
- Add subtle chalkboard shading.
-
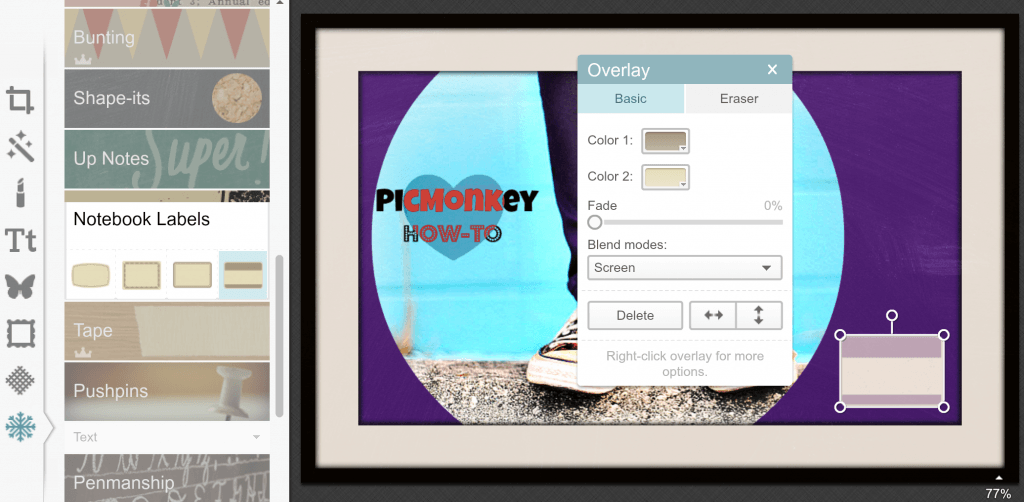
- Let’s add a name tag. That’s cool.
-
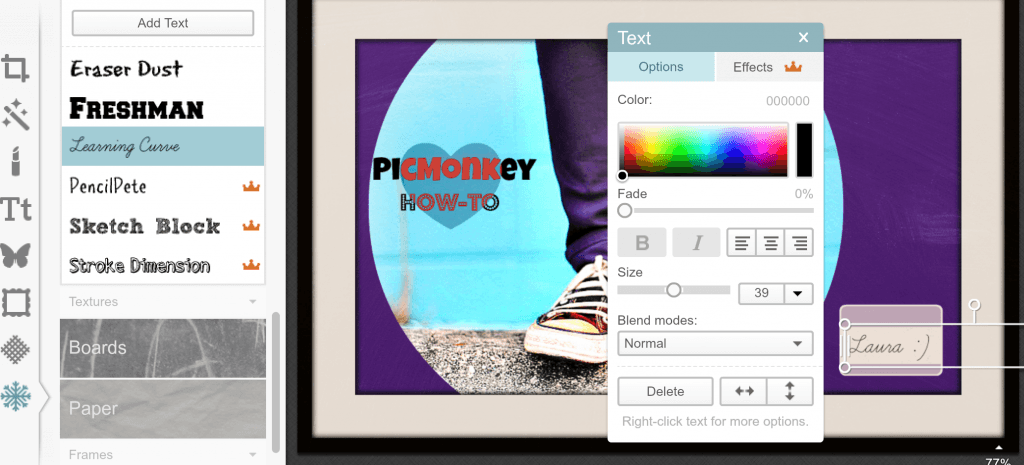
- Well, I need my name on it.
-
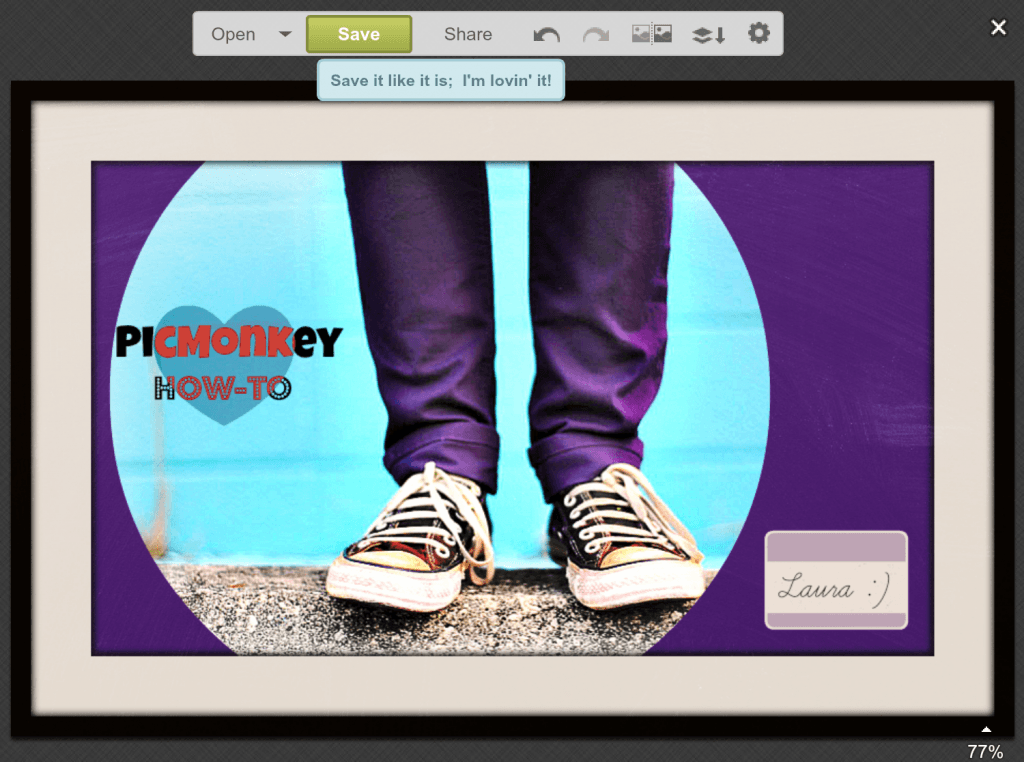
- Time to save it!
-
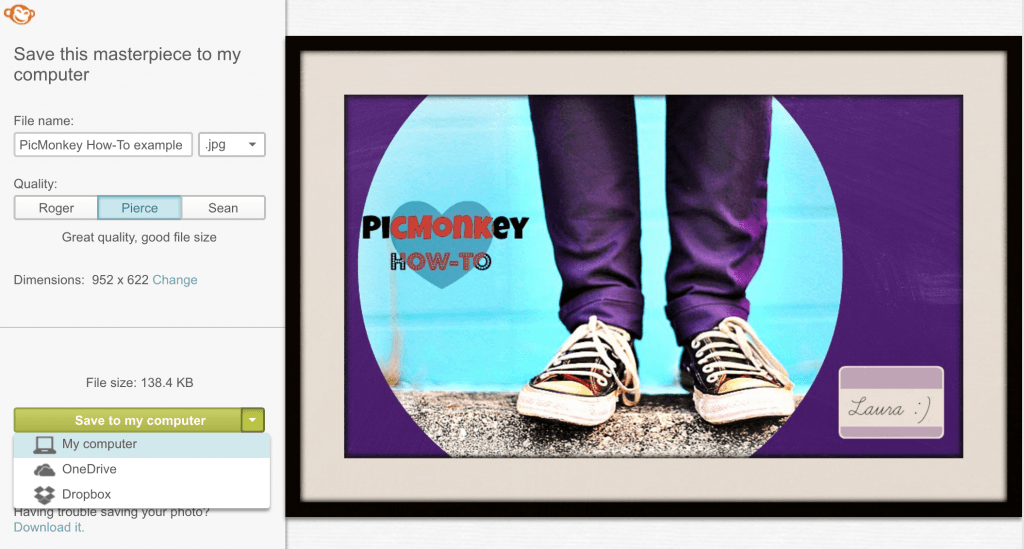
- You can download to many places.
-

- AFTER: all done!
Pro/Con Comparison of PicMonkey (free) with Canva (free)
Pros (how better than Canva)
- So many fun features and tools! [Far more than Canva]
- Some air brushing / beautifying tools! I usually use Photoshop to touch up photos I want to use professionally, but next time I’ll try PicMonkey out and see how it looks.
Con (how not as great as Canva)
- With free version, it doesn’t save your projects. So leave the page and come back? Blank slate. [In Canva you can create a login and it saves all the projects you do, so you can come back and edit them!]
- So many cool features you can’t use in the free version. *insert sad face* They sit there and tease you. Though Canva has the same element of torture with all its awesome $1 photos jamming up your search for a decent free item.
- Feels like more steps and screens to get a photo finished and downloaded for use. Not a deal breaker, but Canva is so simple and fast that it wins in the simple-in-a-good-way aspect.
Conclusion
As you can hopefully see, it’s super easy (and fun!) to use PicMonkey.
My only warning is you may play with it so long that you burn more time than you planned to. 😉
Here again is my before and after:


Share your before and afters with me!
Tag me in your creations and I’ll ‘heart’ them! 🙂